
How to Build a Realtime Gemini 2.0 Mobile App for Voice Chat with Camera and Images
Gemini Development Tutorial V7


In this tutorial, I will share my latest project, continuing our exploration of real-time applications with Gemini 2.0 and its multi-modal live API. After diving deep into the fascinating real-time capabilities of Gemini 2.0 through several web app projects, including a camera chat, screen-sharing interactive canvases, and a RAG assistant, I’ve now spent a weekend building an Android app to replicate and even enhance the multi-modal live experience with Gemini 2.0. Here is the demo video:
Now, let’s dive into the technical details. As always, we’ll begin by quickly reviewing the core features provided by Gemini 2.0, and understand why the multi-modal live API is so powerful. The key advantage of Gemini is its capacity to simultaneously process multiple types of input in real-time, including text, audio, and video. This multi-modal capability, combined with the live API’s streaming functionality, enables natural, interactive conversations where users can seamlessly switch between speaking, showing images, and receiving responses, much like talking to a real person. The live API also handles interruptions gracefully and maintains context throughout the conversation, which is ideal for building responsive mobile applications.

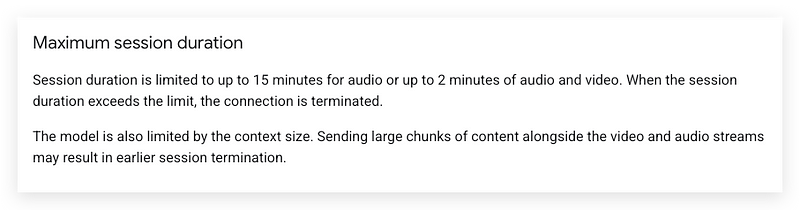
However, we must remember that this API is not part of Google’s official Generative AI package and is still considered experimental. Currently, it’s free of charge with rate limits of three concurrent sessions per API key, 4 million tokens per minute, and session durations limited to 15 minutes for audio or 2 minutes for audio plus video. There is no available paid plan to increase these limits.

System Architecture
Without further ado, let’s build this application. First, we need to understand its basic structure and data flow. Please note that this is an initial version, so its functionality is not overly complicated. In future tutorials, I may add more advanced features.

The process begins with the user on the Android app, which captures images using the camera or records their voice via the microphone. The Android app then processes this media data. Images are compressed and encoded into Base64, while the audio is captured and processed. This processed media data, including both images and audio, is packaged into a JSON format and transmitted over a WebSocket connection to our Python server. On the server side, the message is received, and the audio and image data are forwarded to Gemini 2.0’s multi-modal live API. The model processes the media data and generates a response, which can be either audio or text. The backend then streams this response data through the WebSocket back to the Android client, where the audio response is queued and played back.
Code Walkthrough
Now, let’s start coding. I will show you the entire server code in Python because it’s short. For the Android APP, don’t worry, I won’t go line by line. Instead, I’ll focus on the critical components that make the app work. I’ve tried to keep the structure as clear as possible so that even if you’re not an Android expert, you can still gain a good understanding of how it operates. If you need the entire codebase, you can visit my GitHub repository to find it.
Backend Python Server
The backend implementation is very similar to my previous web app projects, since its role as a bridge between the front end and the live API doesn’t change with either mobile or web. Therefore, if you’ve read my previous tutorials like:

You can skip this section and go directly to the Android code walkthrough in the later part.
Initialization
For the server written in Python, make sure you have the google-genai package installed. I’m using the latest version, 0.5.0, so ensure you have the same version. Also, install the websockets package for communication between the server and the client.
pip install --upgrade google-genai==0.5.0 websocketsWe use the websockets library to create a server that listens for incoming connections from our Android APP.
import asyncio
import json
import os
import websockets
from google import genai
import base64

async def main() -> None:
    async with websockets.serve(gemini_session_handler, "0.0.0.0", 9084):
        print("Running websocket server 0.0.0.0:9084...")
        await asyncio.Future()  # Keep the server running indefinitely
Keep reading with a 7-day free trial
Subscribe to Lab For AI to keep reading this post and get 7 days of free access to the full post archives.