
Maybe the Easiest Way to Build a Real-Time Multimodal AI Assistant
A Quick Guide for Using LiveKit to Create Live Agent

We’ve explored much about the multimodal live application development by using Gemini Live API, or open source libraries, or hands-on solutions like ElevenLabs. Building a real-time AI agent that can SEE and HEAR is easier than you might think. Before we create our agent, let's look at a framework that makes it possible: LiveKit.
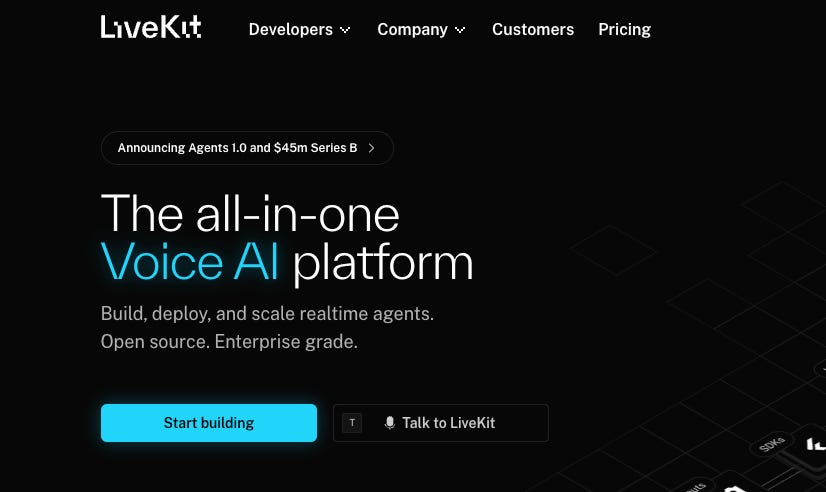
LiveKit is an open-source platform designed for building applications with real-time audio, video, and data features. It uses WebRTC, a technology for low-latency communication, to power everything from video calls to interactive live streams. You can think of LiveKit as the engine that handles the complex parts of sending live media over the internet. It provides a full set of tools, including a media server and SDKs for many platforms, like JavaScript, Python, and mobile devices. This lets developers add features like video conferencing, voice chat, and screen sharing to their apps.
A key part of LiveKit is its Agents framework, which is what we will use in the demos later. This framework allows a Python program to join a LiveKit room running on the cloud or local server, just like a human user. This "agent" can then process the real-time audio and video from the room, send it to AI services for analysis, and then respond back in real time. This is perfect for creating conversational AI that can see and hear.
This article will show you how to create a real-time AI assistant using LiveKit. We will start by building a simple voice agent and then add vision capabilities. The final agent will be able to analyse a user's camera feed or screen sharing in real time, and you can operate all these by a React-based web page.
To give you a quick feeling, check out this demo video first, which we will explain the implementation in a later chapter:
Why choose LiveKit
Compared to the traditional multimodal live development, here are some key advantages of using LiveKit:
Handles Real-Time Complexity: The platform is structured for low-latency communication, a key part of making AI conversations feel natural. It works by streaming audio and video between the user and the agent with as little delay as possible.
Designed for Scalability: The system is built to be scalable. It can support applications from small prototypes to larger systems and is designed to handle a high volume of concurrent connections reliably.
Simplifies Development: For developers, LiveKit offers APIs and SDKs that abstract away some of the complexity of real-time media. This means you can focus more on the agent's logic rather than building the communication infrastructure from scratch.
Open and Flexible: The core is open-sourced interfaces, which support integrations with various AI services for Speech-to-text, Text-to-speech, and large language models, offering options for cost, performance, and preferences.
Demo 1: Your First Voice Agent
First, we will build a basic voice assistant that you can talk to from your computer's terminal. This will help us understand the basic setup of a LiveKit agent.
Let’s see the final live experience:
What You Need
Before we start, you need a few things:
Python 3.9 or a newer version.
A LiveKit Cloud account at cloud.livekit.io. You can get a free one, which will give you the API keys in the Settings needed to connect to the LiveKit server.
API keys from a few AI providers. For this quick step, we'll use Deepgram for speech-to-text (STT), OpenAI for the language model (LLM), and Cartesia for text-to-speech (TTS).
Dataflow Diagram
This diagram outlines how speech from a user is processed by the agent and how a spoken response is generated and sent back.

Project Setup
First, you need to install the necessary Python packages. Open your terminal and run this command:
pip install \ "livekit-agents[deepgram,openai,cartesia,silero,turn-detector]~=1.0" \ "livekit-plugins-noise-cancellation~=0.2" \ "python-dotenv"This command installs the LiveKit agent library along with plugins for the AI services we'll use. It also includes tools for detecting when a user starts and stops speaking.
Next, create a file named .env in your project folder. This file will store your API keys. Add your keys to the file like this:
DEEPGRAM_API_KEY=Your_Deepgram_API_Key
OPENAI_API_KEY=Your_OpenAI_API_Key
CARTESIA_API_KEY=Your_Cartesia_API_Key
LIVEKIT_API_KEY=Your_LiveKit_API_Key
LIVEKIT_API_SECRET=Your_LiveKit_Secret
LIVEKIT_URL=Your_LiveKit_URL
You can find your LiveKit keys/Secret and URL in your LiveKit Cloud project settings.
The Agent Code
Now, create a file named agent.py. This is where the logic for our voice assistant will live. Here is the code for a simple assistant:
from dotenv import load_dotenv
from livekit import agents
from livekit.agents import AgentSession, Agent, RoomInputOptions
from livekit.plugins import (
    openai,
    cartesia,
    deepgram,
    noise_cancellation,
    silero,
)
from livekit.plugins.turn_detector.multilingual import MultilingualModel

load_dotenv()


class Assistant(Agent):
    def __init__(self) -> None:
        super().__init__(instructions="You are a helpful voice AI assistant.")


async def entrypoint(ctx: agents.JobContext):
    session = AgentSession(
        stt=deepgram.STT(model="nova-3", language="multi"),
        llm=openai.LLM(model="gpt-4o-mini"),
        tts=cartesia.TTS(model="sonic-2", voice="f786b574-daa5-4673-aa0c-cbe3e8534c02"),
        vad=silero.VAD.load(),
        turn_detection=MultilingualModel(),
    )

    await session.start(
        room=ctx.room,
        agent=Assistant(),
        room_input_options=RoomInputOptions(
            noise_cancellation=noise_cancellation.BVC(),
        ),
    )

    await session.generate_reply(
        instructions="Greet the user and offer your assistance."
    )


if __name__ == "__main__":
    agents.cli.run_app(agents.WorkerOptions(entrypoint_fnc=entrypoint))
This code sets up an AgentSession, which manages the flow of data. It connects the STT, LLM, and TTS services into a pipeline. Audio comes in, gets converted to text by Deepgram, the text is sent to OpenAI to generate a response, and the response text is converted back to audio by Cartesia.
Running the Agent
Before running the agent for the first time, you need to download some model files that help with voice activity detection. Run this command in your terminal:
python agent.py download-filesNow you can talk to your agent. To run it in your terminal, use the console mode:
python agent.py consoleYou can now have a conversation with your AI assistant directly in your terminal. This is a great way to test the basic functionality.
Part 2: Adding Real-Time Vision & UI
Now we will upgrade our agent to handle video. We want the agent to see what the user sees through their camera and answer questions about it. Additionally, the agent can see the user’s screen by sharing and answering questions about it in real time. We will use the vision_agent.py file you provided as our guide.
The main idea is to capture frames from the user's video stream, and send the most recent frame to the AI model along with the user's spoken question.
There are two key aspects that need to be implemented:
a new vision agent
a frontend web page for chat.
Keep reading with a 7-day free trial
Subscribe to Lab For AI to keep reading this post and get 7 days of free access to the full post archives.