
It's SO Easy to Use ElevenLabs to Build a Multimodal Voice Agent, Here is HOW.
A Quick Tutorial for Developing Agent with Custom Tool in Elevenlabs

In previous tutorials, we did deep dives into building voice agents for assisting web browsing or screen sharing from the ground up using Google's Gemini Live API. That approach gives us full control over the real-time interaction with the LLM, but it required a lot of technical expertise. We had to manage raw WebSocket connections, handle real-time audio resampling, and navigate the complexities of Chrome extension architecture, front-end development, and even backend development in Python.
But what if you want to build a similar multimodal assistant without all that low-level engineering or coding? Well, in this tutorial, we are going to solve that. This is where a platform like ElevenLabs provides a powerful and much simpler alternative.
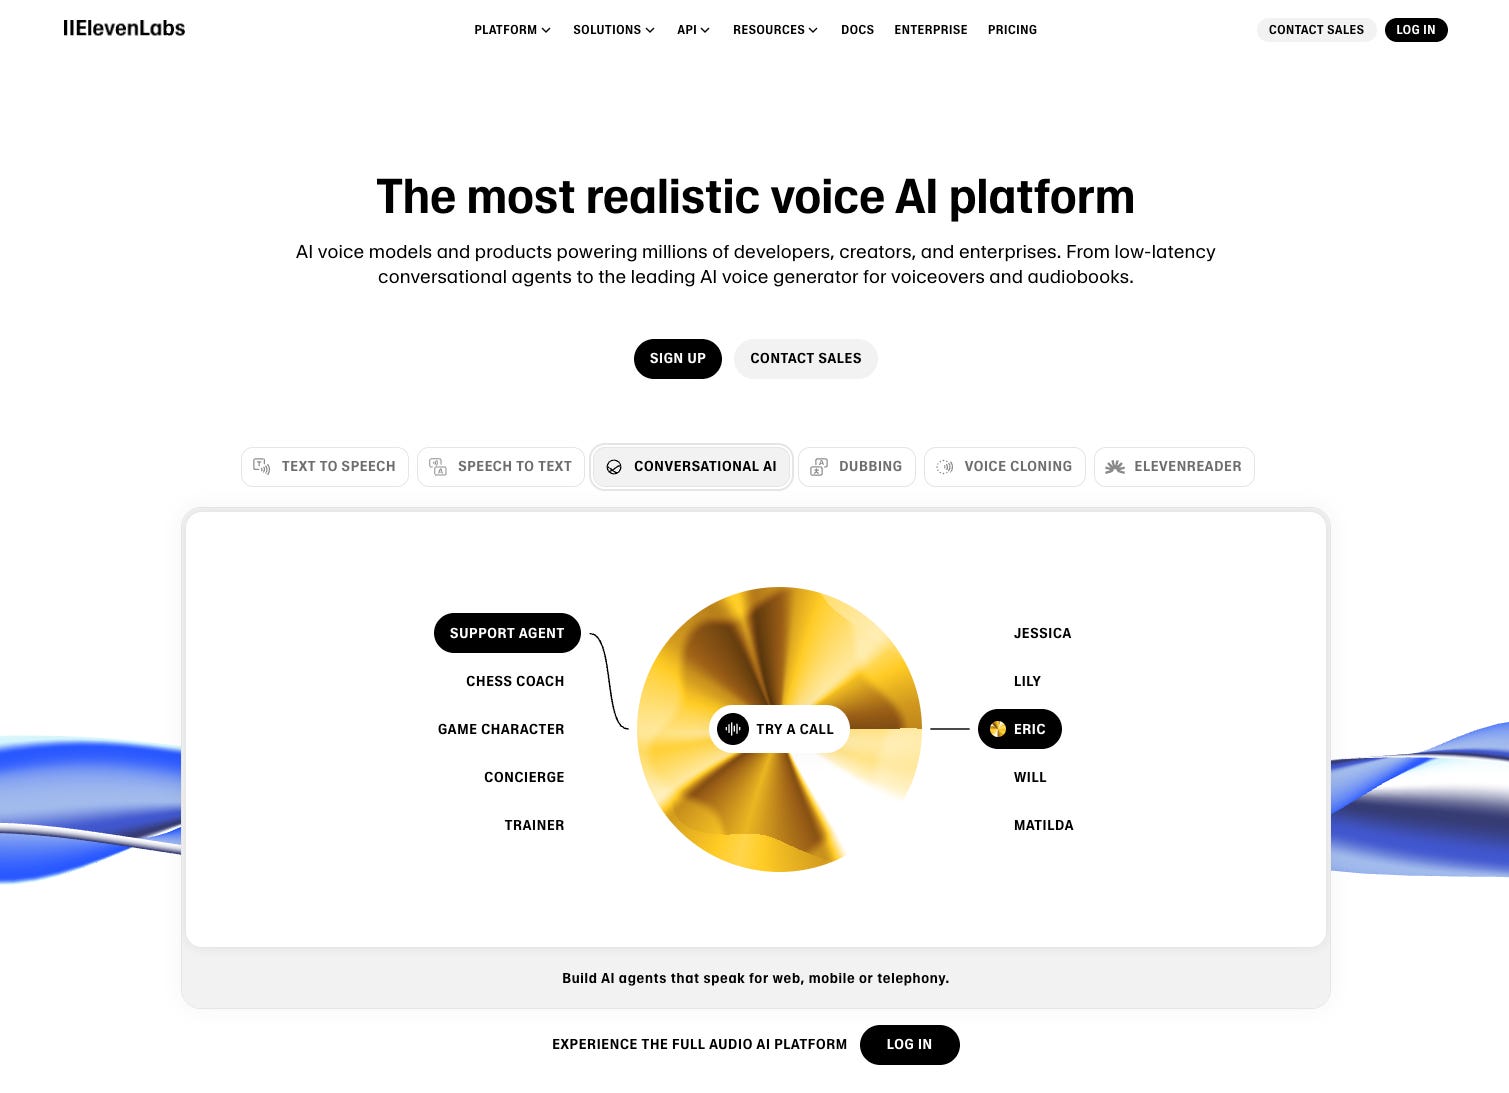
Instead of writing complex backend logic, ElevenLabs allows you to create and configure your conversational agents through a no-code web interface. You can define your agent's personality, its role (like a support agent or game character), and its voice from a large pool of options. You can also create custom tools by simply filling out forms in their studio.
The only significant coding required is for the tool's implementation itself. We need to define a function that acts as the agent's tool to perform image recognition when it needs to "see" something, like the screen you are looking at in your web browser.
Today, we are going to start with the default Next.js project provided by ElevenLabs and build upon it to create a web client that interacts with an ElevenLabs agent, equipping it with a custom tool to see and describe your screen.
Live Demo
First, let's see the final demo in action. This is the page running in a Next.js development environment, built upon the default component provided by the ElevenLabs package. I've added a "Start Screen Share" button to allow the user to share a window or tab with the agent.
Let's start by sharing a screen showing an error page from X.com.
Creating the Agent and Tool
The first step is to create an agent in your Agent page of the ElevenLabs account.
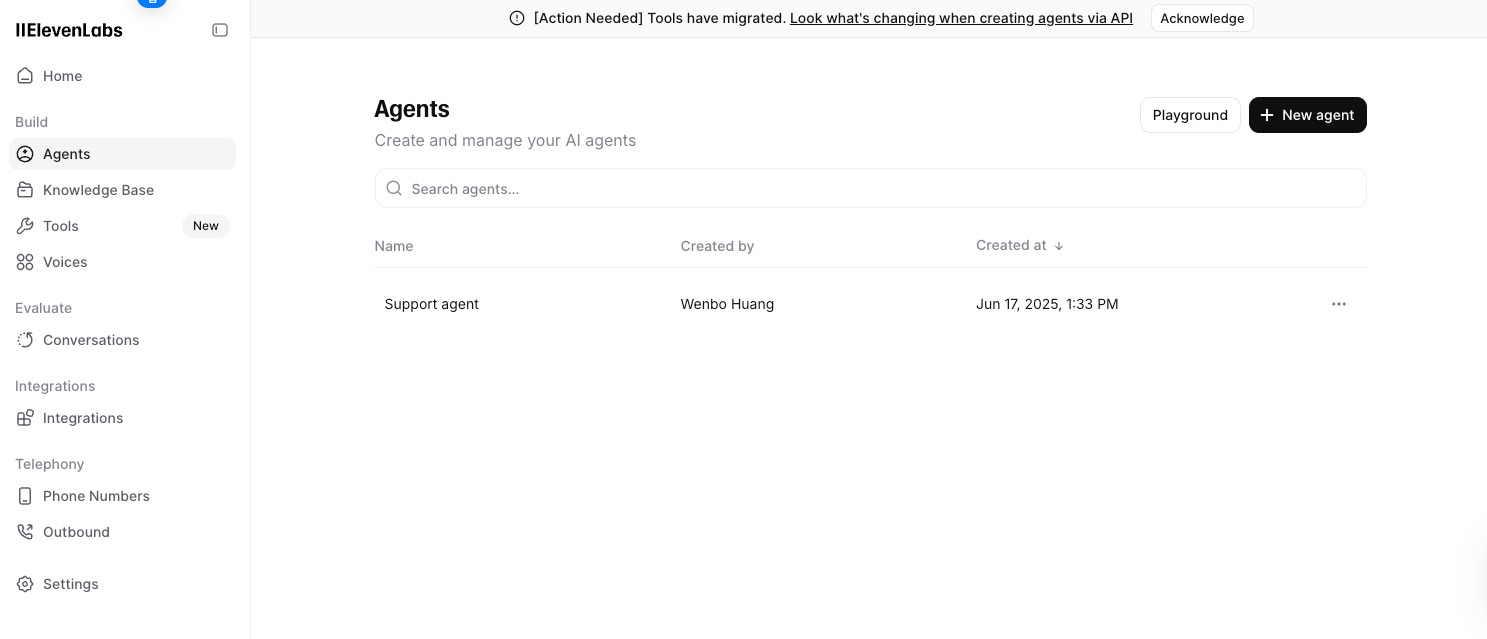
Navigate to the Agent page. Here you can create a new agent or edit an existing one.
When you create an agent, you can configure many parameters, such as the initial message, the voice, and the system prompt which defines the agent's behavior, attitude, and knowledge base. You can also choose which LLM you want the agent to use. For this demo, I'm using Gemini 2.0 Flash as a cost-effective option.
The key parameter here is the Tools section. This is where you connect your agent to external capabilities. You can add a webhook tool (which calls a server endpoint) or a Client Tool, which is what we will use. A client tool calls a function directly inside your front-end codebase.
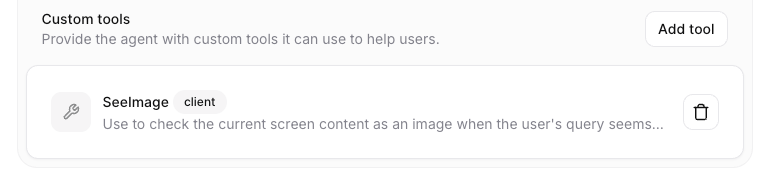
Tool Setting in Agent Creation

Keep reading with a 7-day free trial
Subscribe to Lab For AI to keep reading this post and get 7 days of free access to the full post archives.